I've had the Aeroforce Interceptor Gauge for a while now and I absolutely love it! When I purchased it, I also bought one of the oil pressure kits to use with one of the Interceptros two analog inputs since oil pressure isn't read through the computer. I finally got around to installing the oil pressure kit and here's how it went...
These are the items that came with the kit...
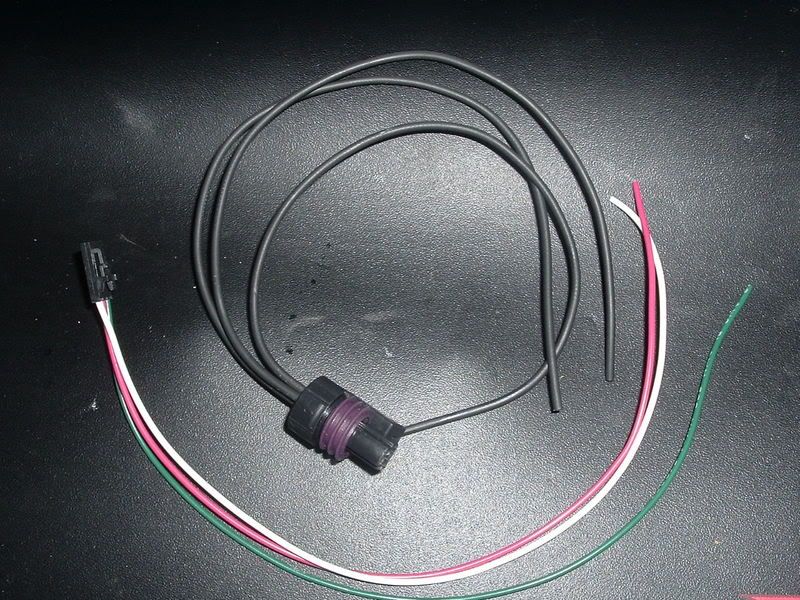
The harness with the 3 black wires is for the pressure sender and the other harness with the colored wires plugs into the back of the Interceptor. The WHITE wire is Analog 2 and the GREEN wire is Analog 1. The red wire isn't used since the Interceptor gets it's power from the OBDII port on Ford applications...
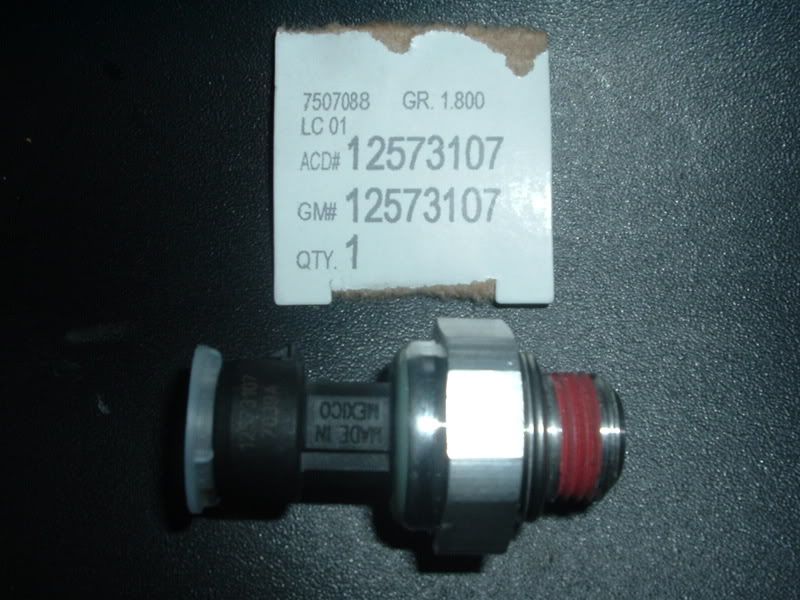
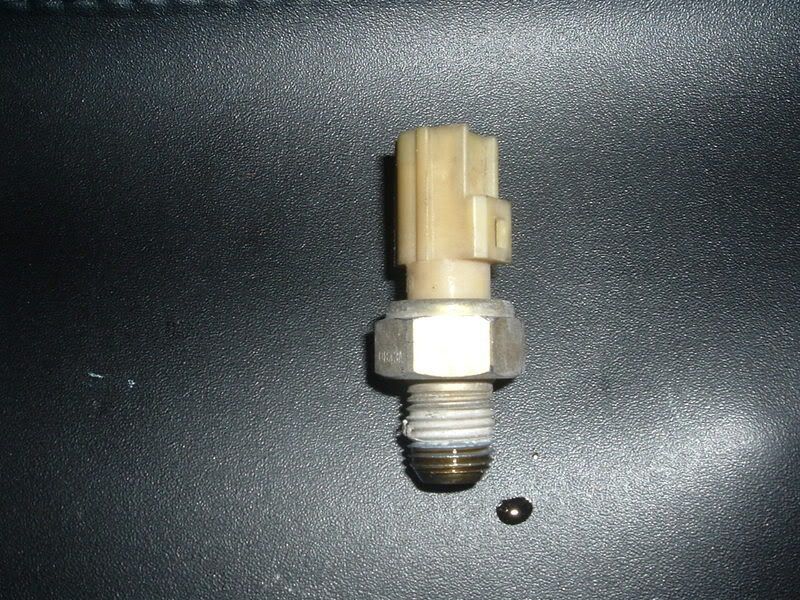
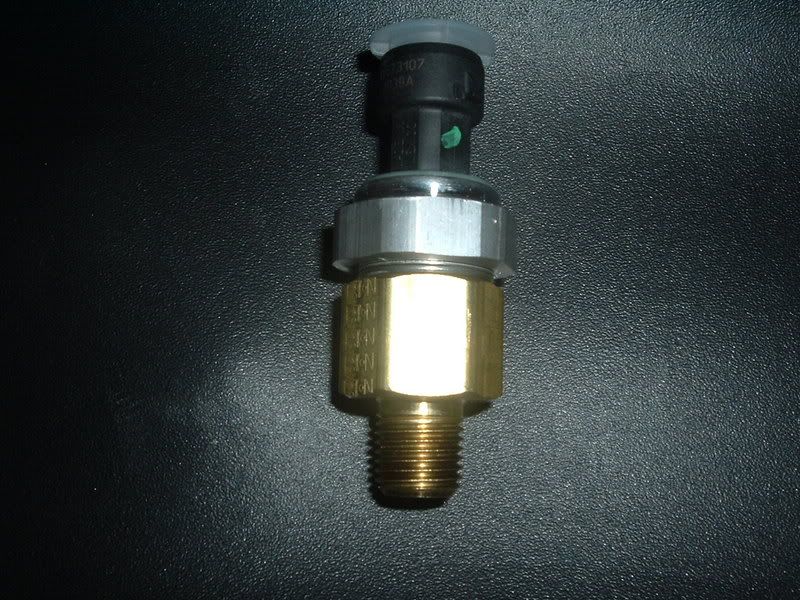
This is the 0-100 PSI AC Delco pressure sender that came with the kit...
This sender calls for a 5V power source. Initially, I didn't know of a 5V power source on the truck so I bought a voltage reducer from Lew. But I ended up finding out through one of Fade 2 Black's How-To's that the EGR power wire is 5V. So I used it instead of the reducer. Here's what the reducer looks like...
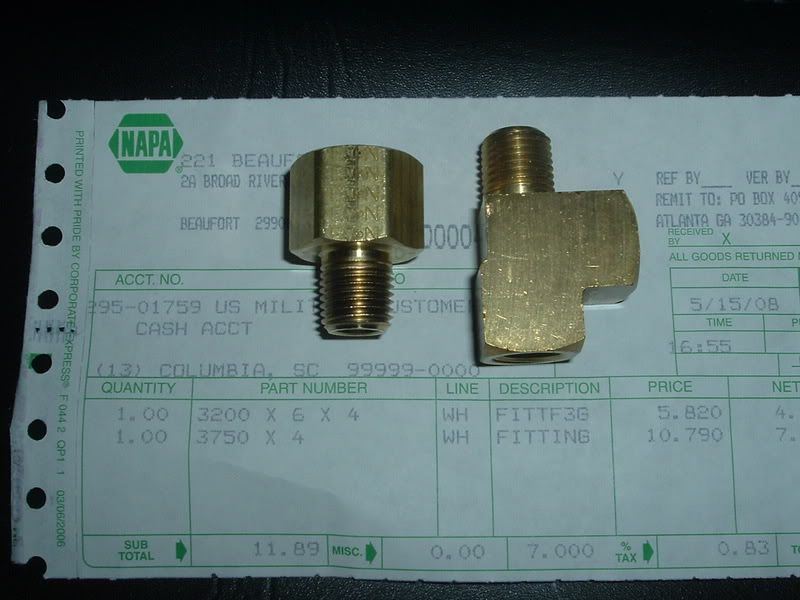
I had to buy some fittings from NAPA in order to adapt this sender to my Lightning. The stock oil sender/switch is 1/4" NPT and the AC Delco sender is 3/8". I wanted to retain the stock switch so here's the fittings I got. The fitting on the left is a 1/4" Male - 3/8" Female reducer fitting and the one on the right is a 1/4" Male X 1/4" Female X 1/4" Female 90 degree fitting.
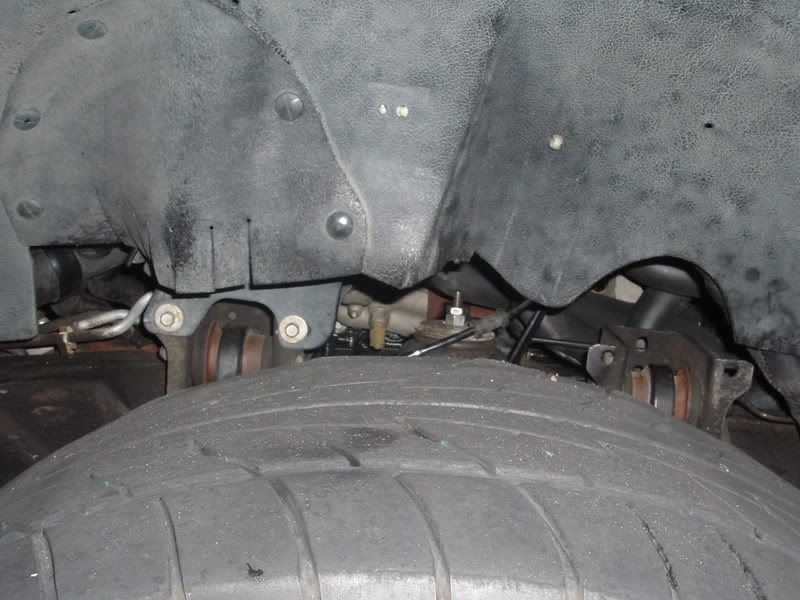
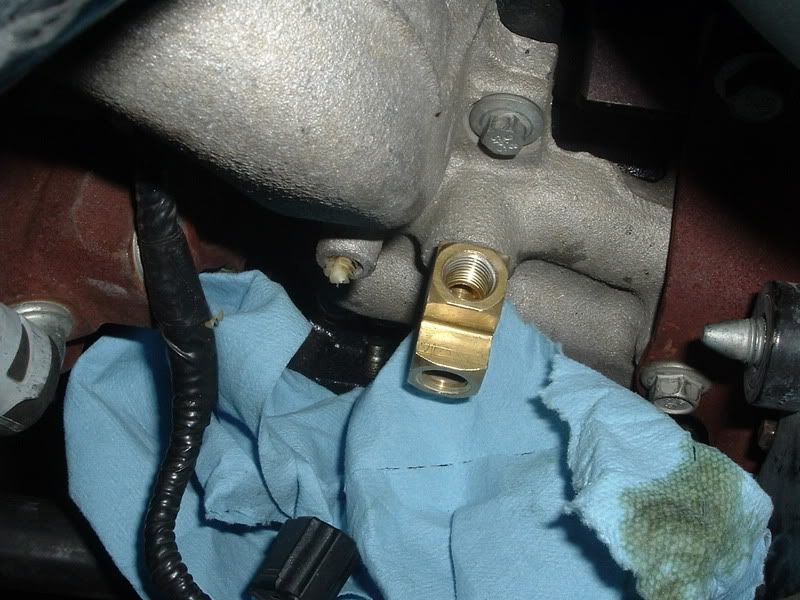
Here's a couple pics from the drivers side front fender well that'll help you locate the stock sender switch...
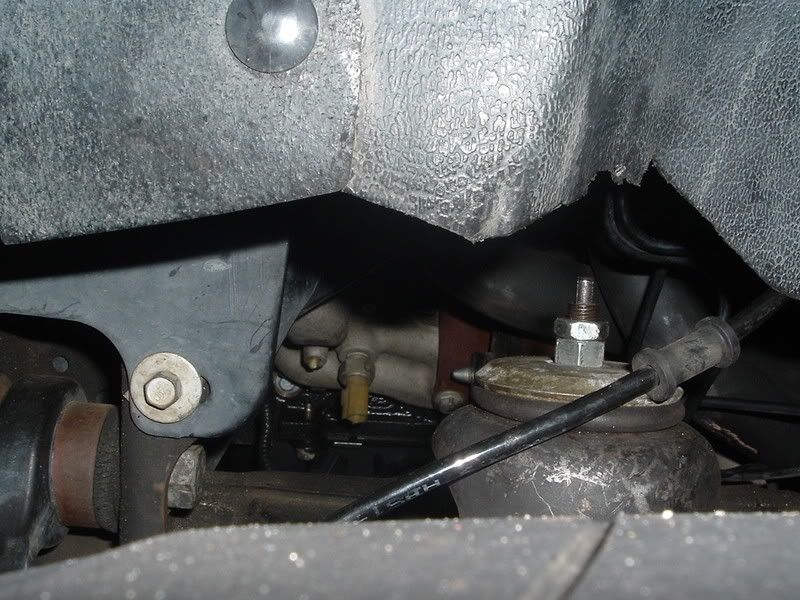
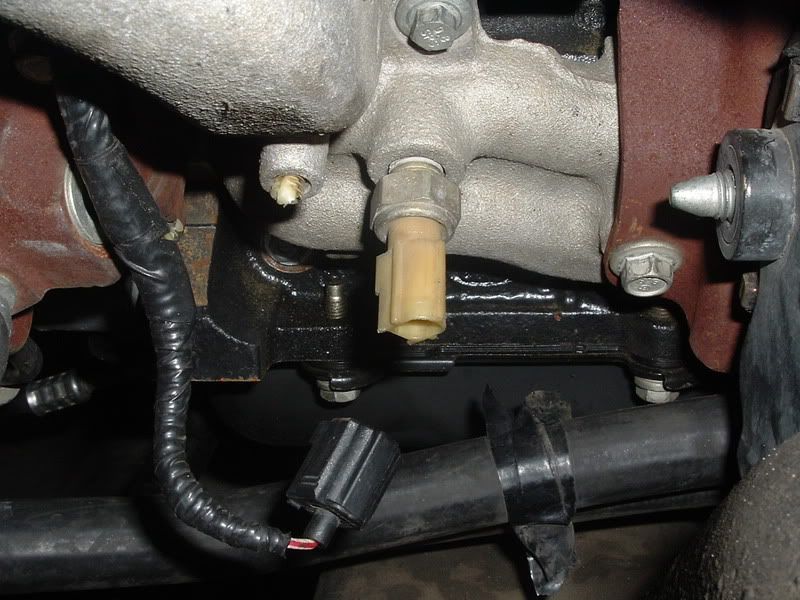
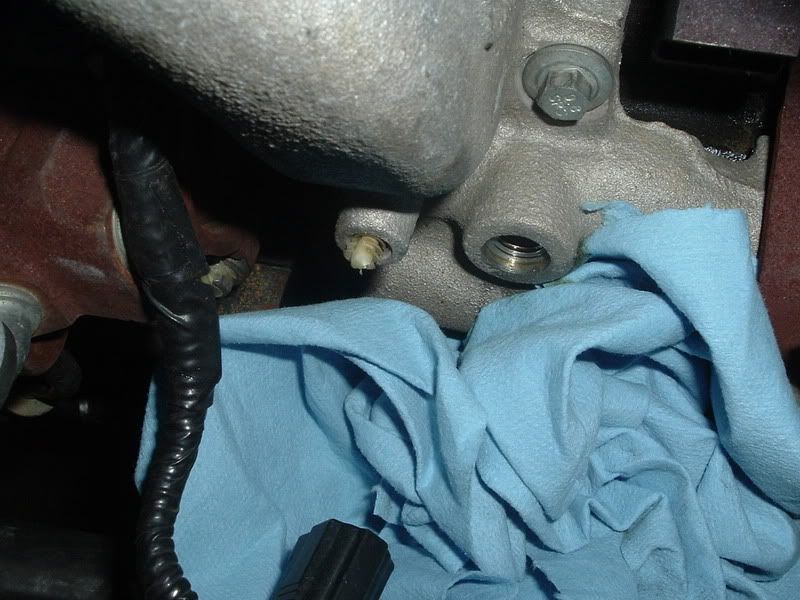
Once I unplugged the harness, I used a 13/16" socket to remove the stock switch...
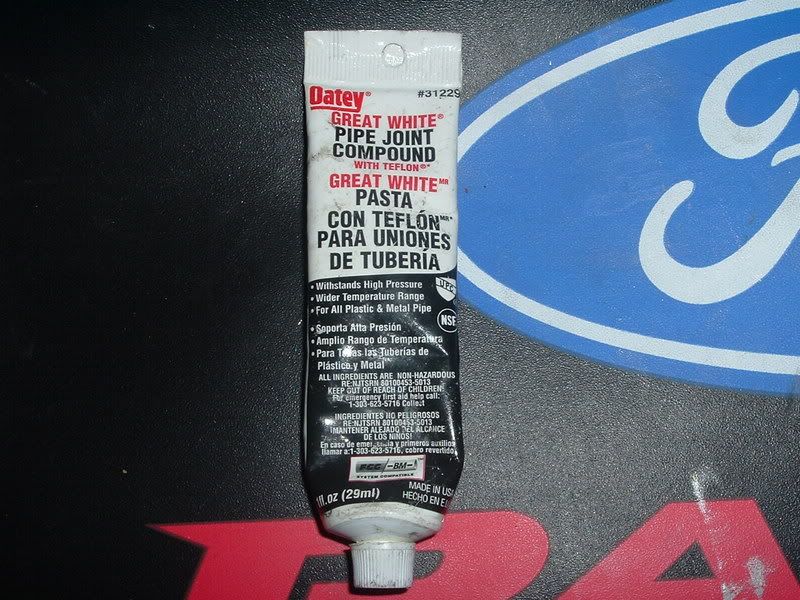
Then I applied some pipe joint compound to the threads of the 90 degree fitting and used an adjustable wrench to install it...
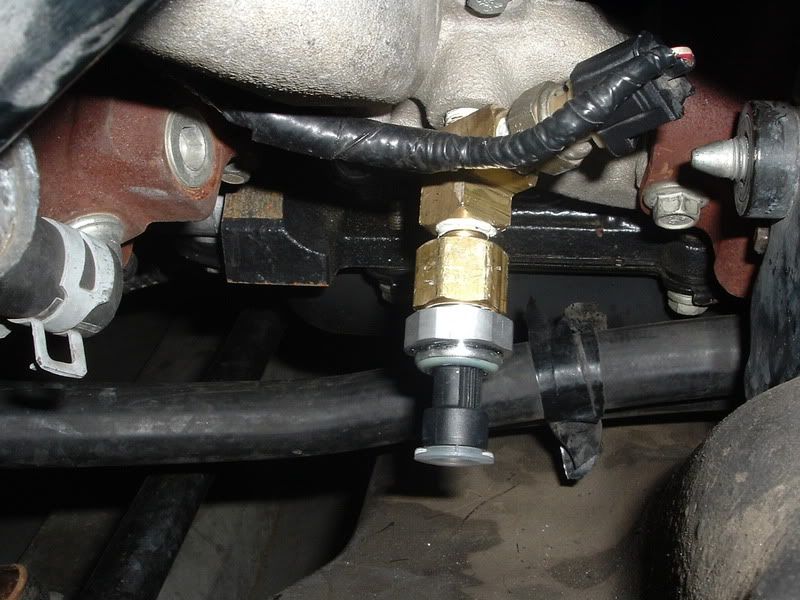
Then I applied some pipe joint compound to the threads of the AC Delco sender and used a 27MM socket on the sender and an adjustable wrench on the 1/4" - 3/8" reducer fitting to fit them together...
Then I applied some pipe joint compound to the threads of the 1/4" male end of the reducer fitting and the stock switch and installed them into the 90 degree fitting. I could have installed the senders differently, but this will work...
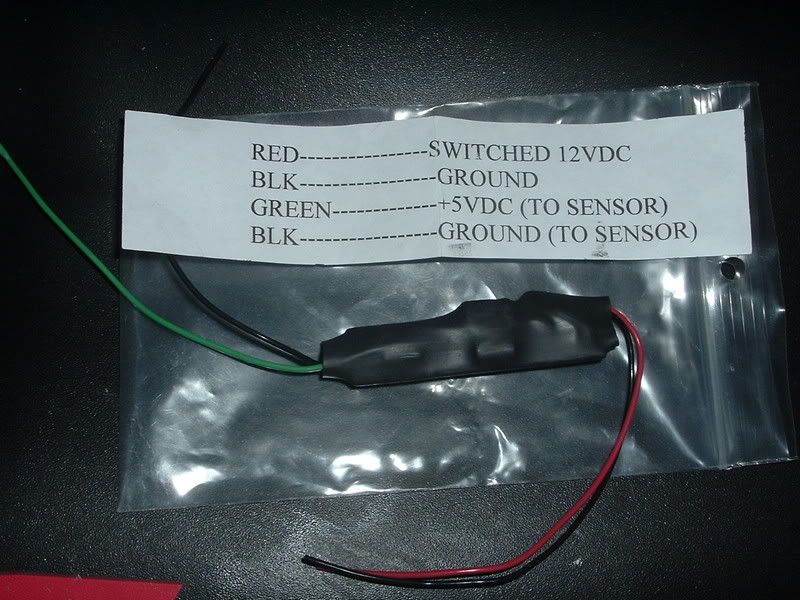
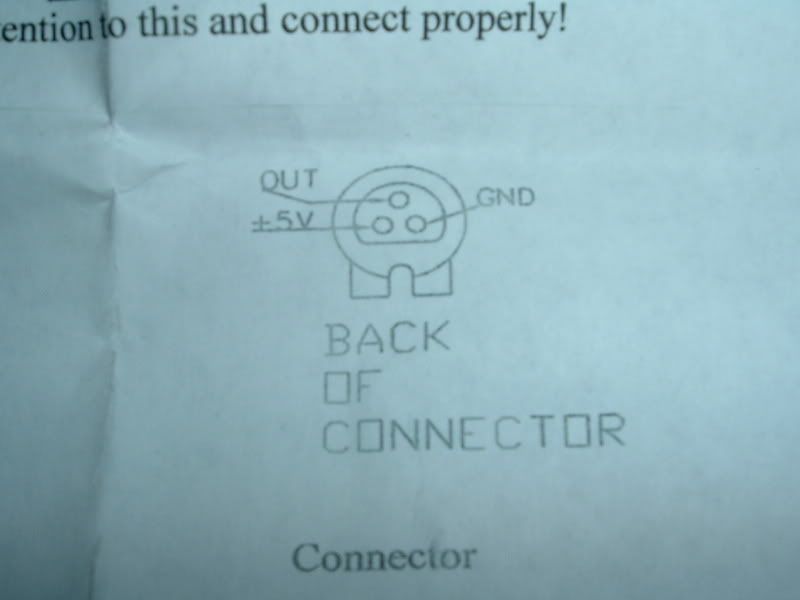
Next I had to wire everything up. I started with the harness for the AC Delco sender. Here's a diagram that came with it from AI that explains what each wire is...
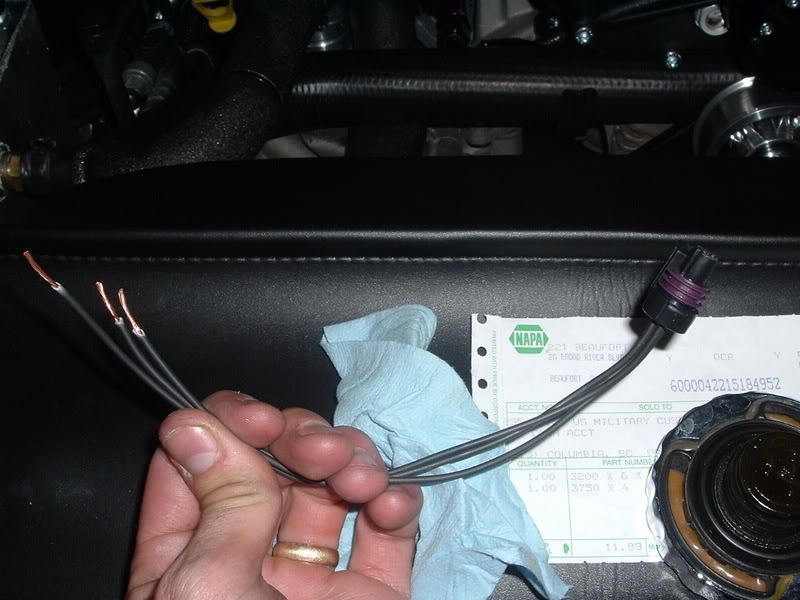
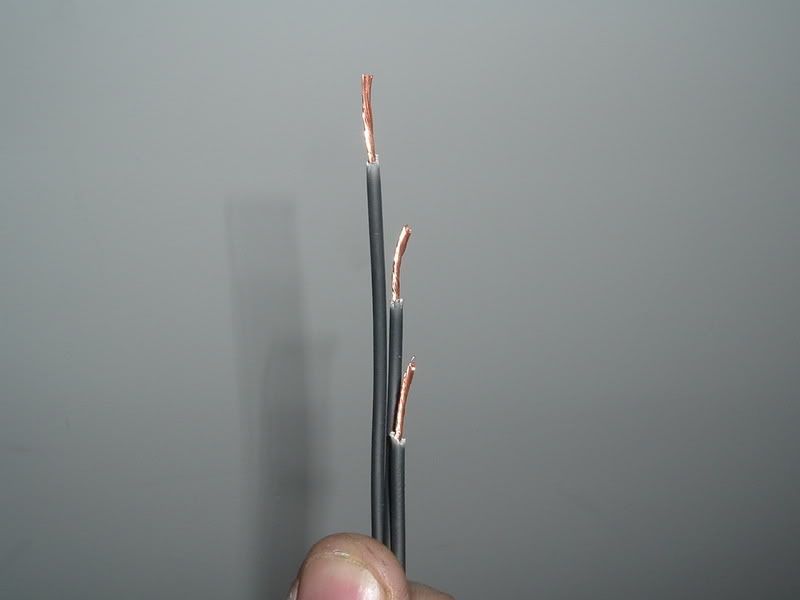
I cut the harness wires at different length so they would fit in the convoluted tubing I planned to put around them better. This way there won't be a bulge in one spot...