
|
 06-02-2008, 12:59 PM
|
#1 |
|
Senior Member

Join Date: May 2007
Location: Port Royal
Posts: 534
 |
I installed the Chickenears Cool-Aid Stage III Kit a little while ago and I took some pics while I did it. Here is a step-by-step of how I installed it...
Here are some pics of everything that came in my kit. I opted for the polished tube and Tim engraved "Chickenears" on it. I also got the polished lid for the filter box and the Air Force One Power Tube. I chose to go with the 12" S&B Filter instead of the True-Flow Foam Filter. 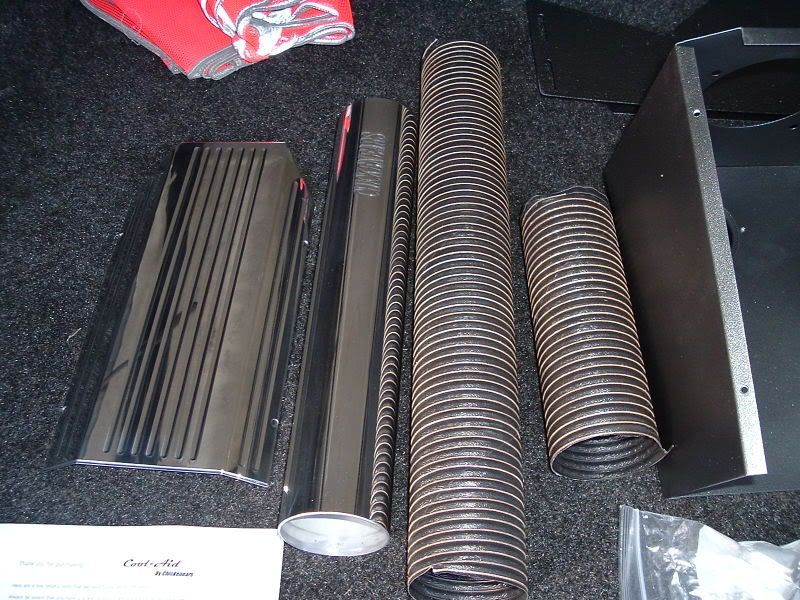 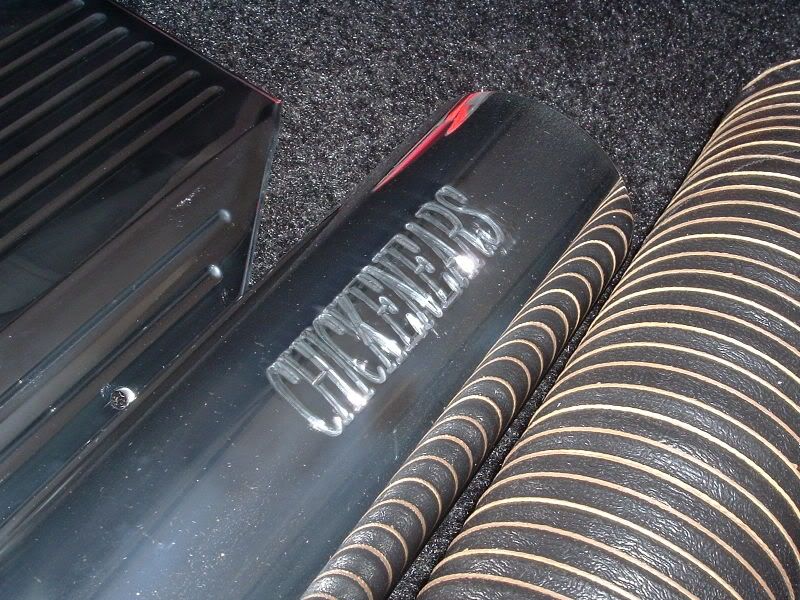 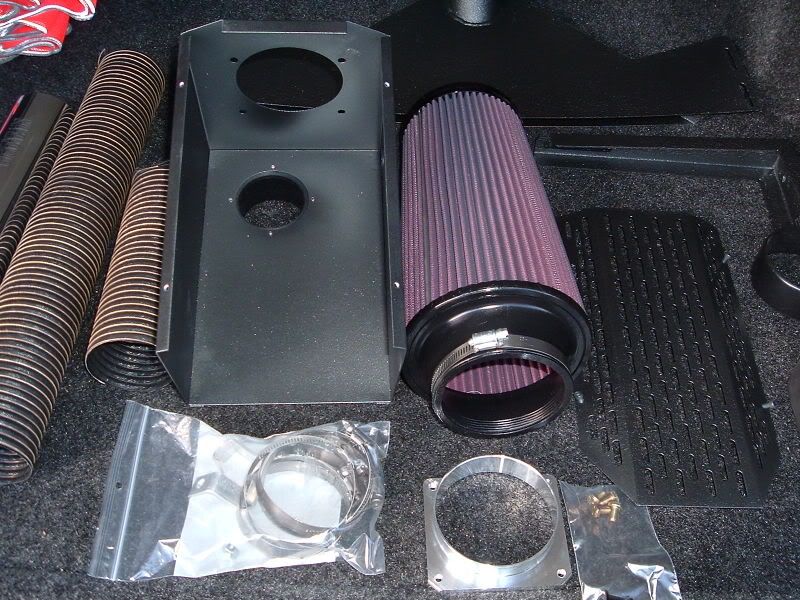 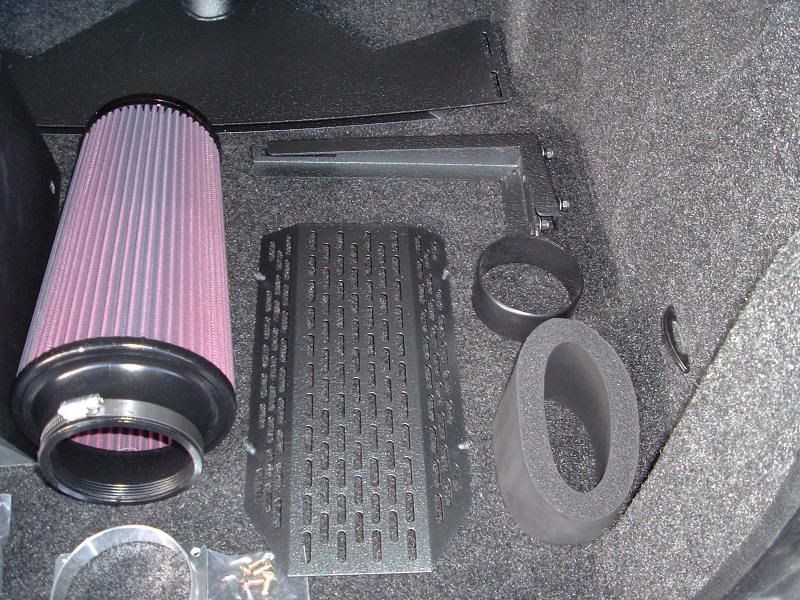 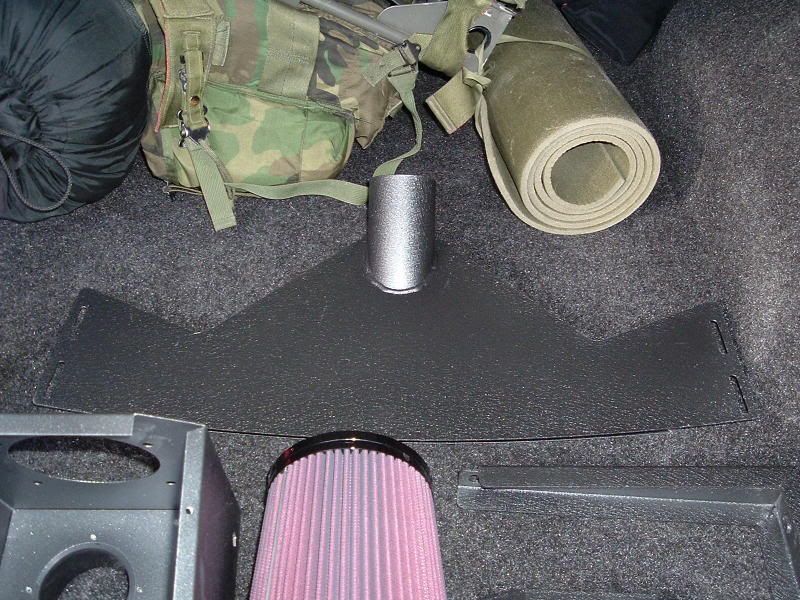 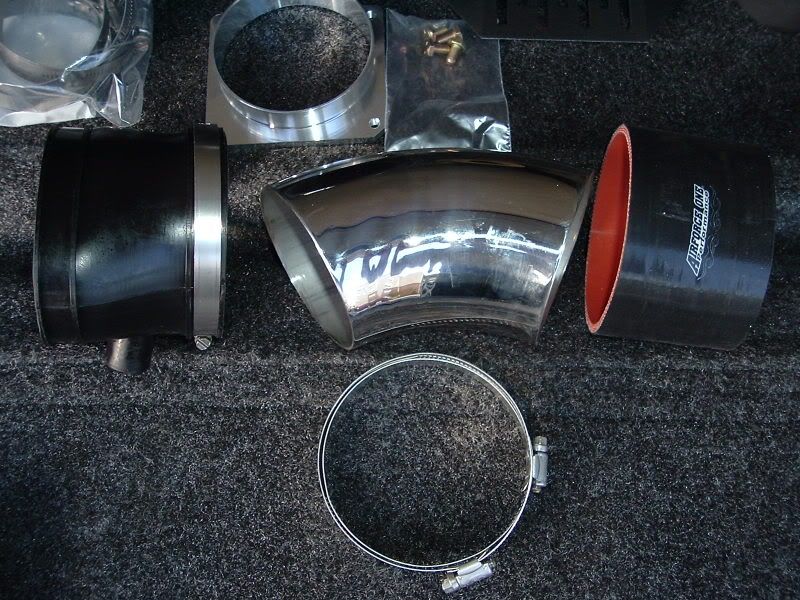 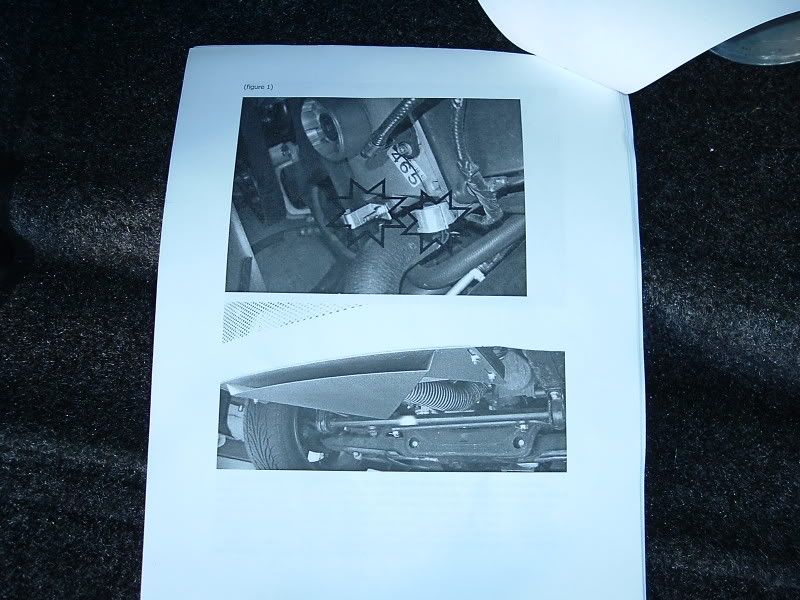 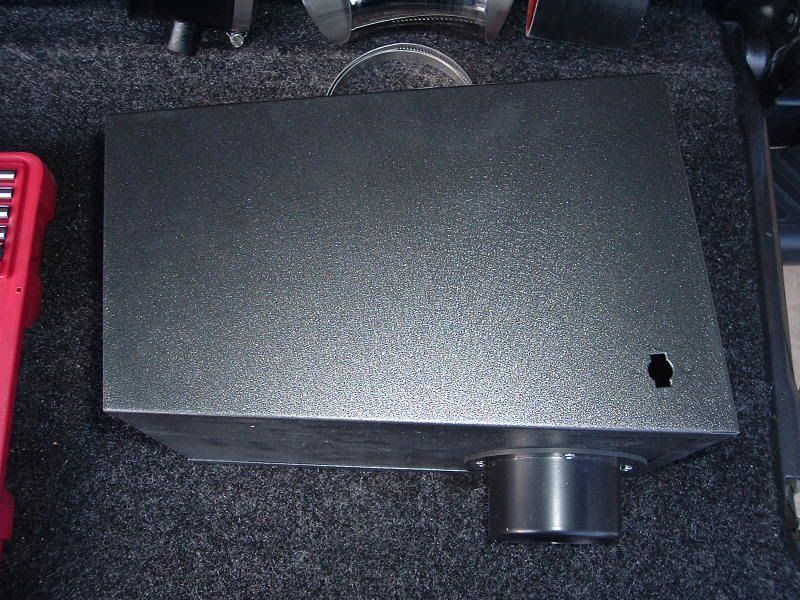 The first thing I had to do was remove the old K&N FIPK. 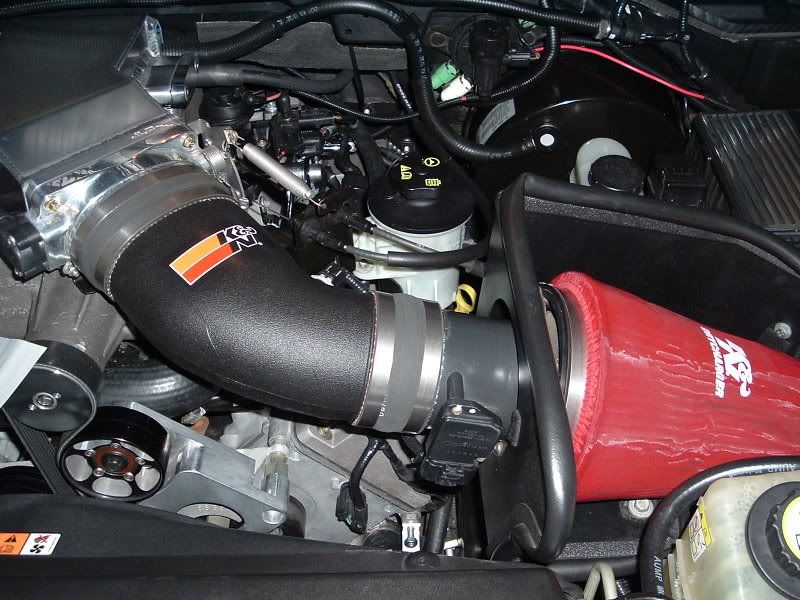 Here's what it looked like with the K&N removed. 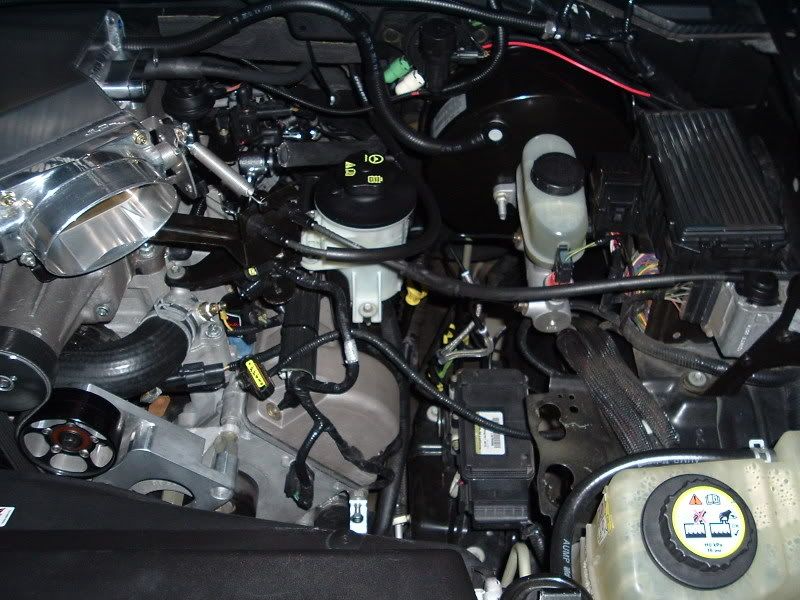 Next, I located these two bolts on the front of the engine. They're the ones on the drivers side between the cam cover and the power steering pump. 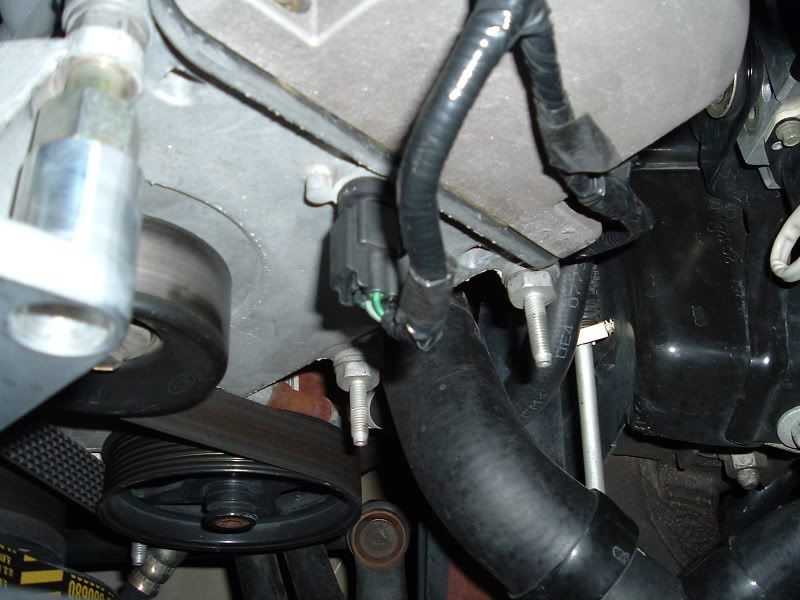 Then I install the supplied aluminum brackets with the supplied 13MM locking nuts. The slightly angled bracket goes on the bottom. I left them loose so I could make adjustments later if needed. 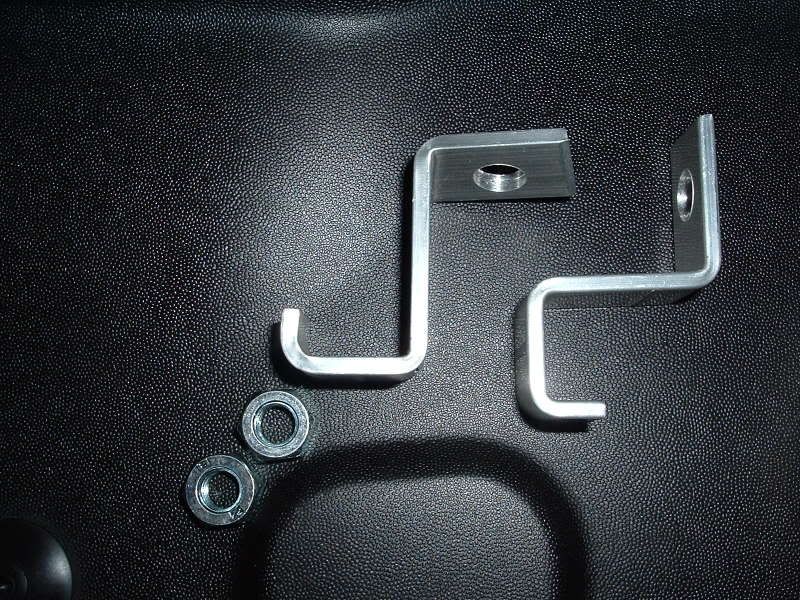 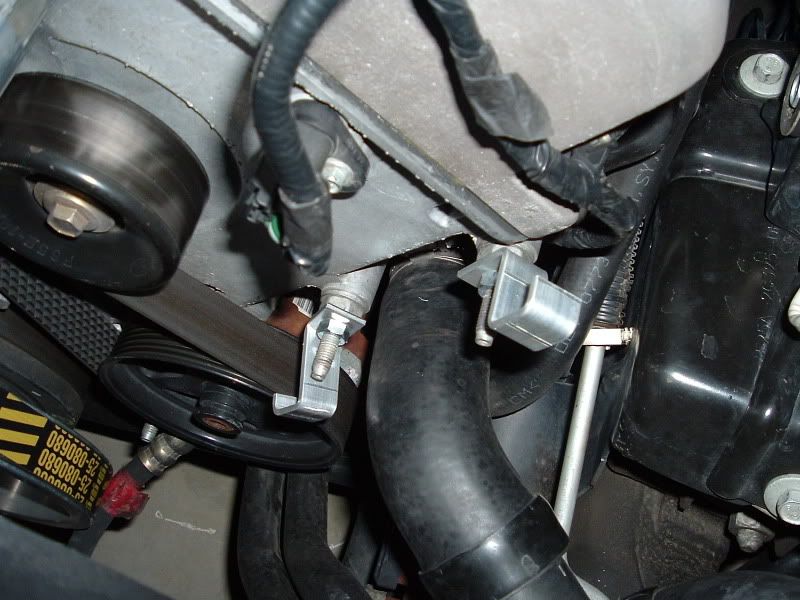 Then I went to installing the ram-air tubing. I installed the long flex-tubing section and the short one to the polished metal tube prior to installing it to help ease the installation. I used the supplied worm-gear clamps to install the flex-tubing on the metal tube. 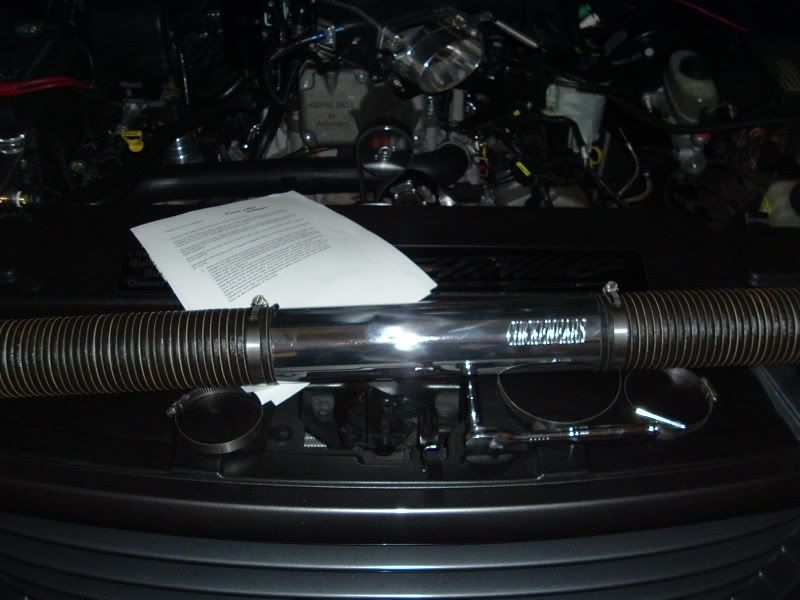  Next, I used two more of the supplied clamps to attach the tubing to the aluminum brackets I installed earlier. Once again, I left them slightly loose so I could adjust them for fitment later. 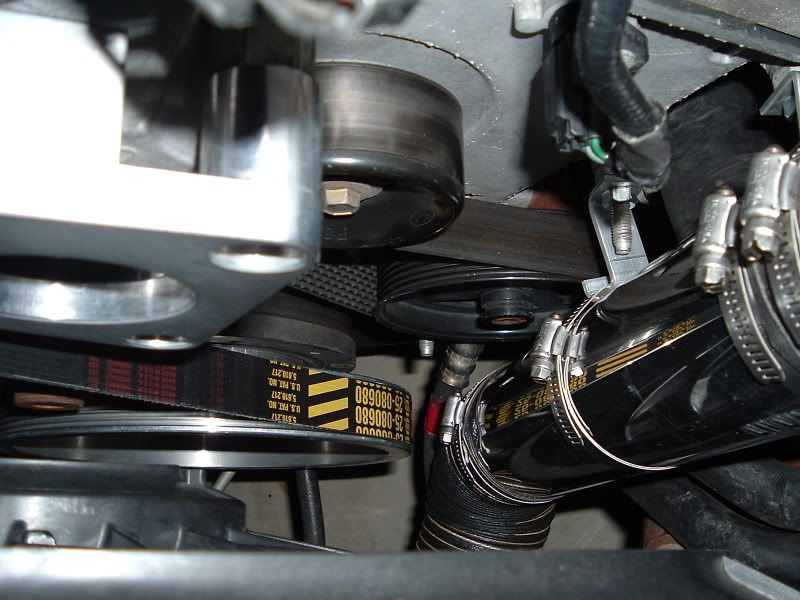 Then I went to installing the ram-air scoop. This was a lot easier than I thought it was going to be. First, I laid out the scoop and the brackets. 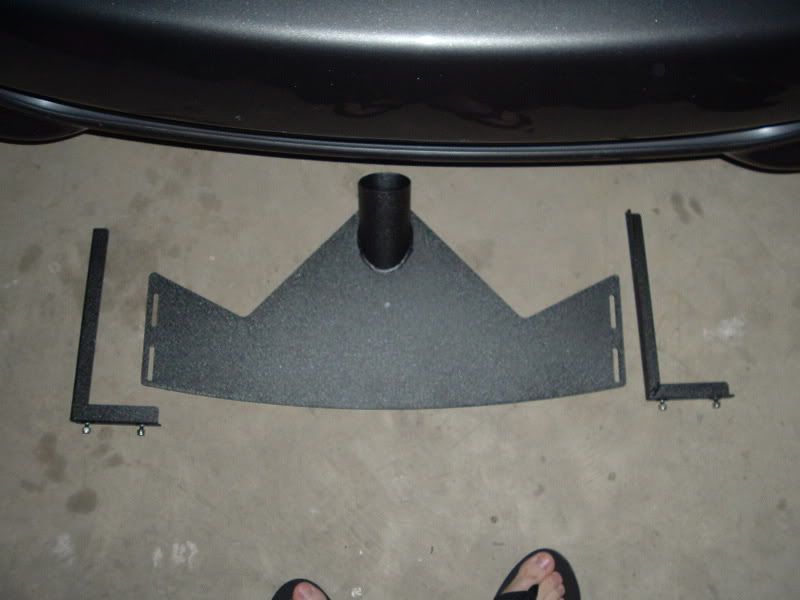 Then I located the two lower/inner bumper mounting bolts (they're right next to the heat exchanger). I remove these two bolts and installed the two brackets for the scoop. Once again, leaving them slightly loose to adjust the height of the scoop once I have it installed. This is the drivers side with bolt removed... 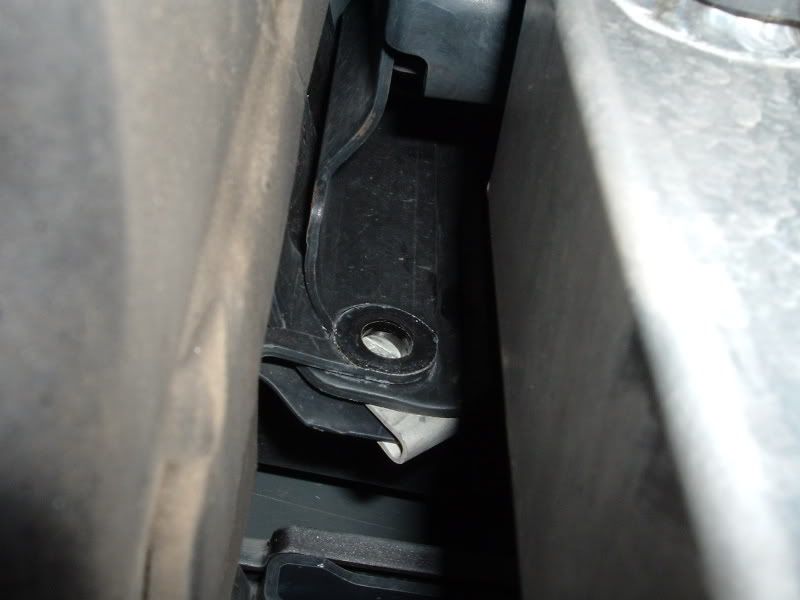 This is the passenger side with the bolt still in... 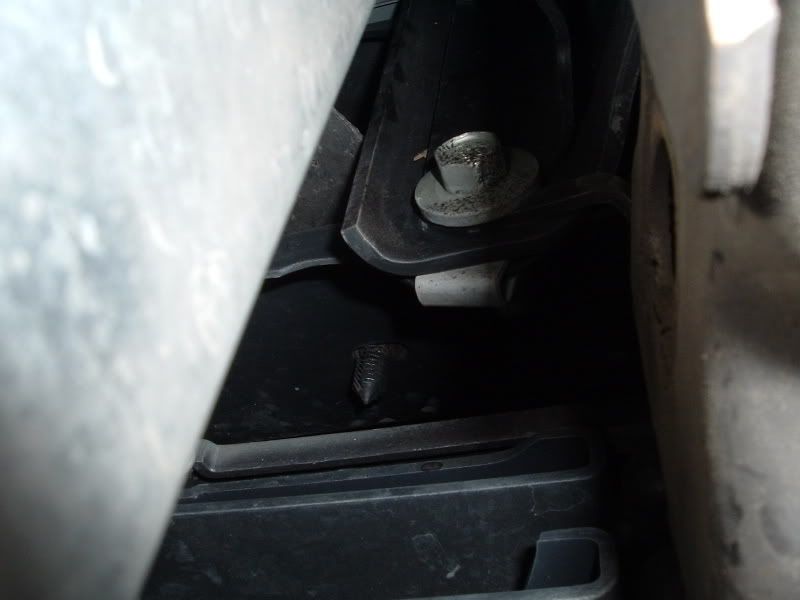 And after the brackets were installed... 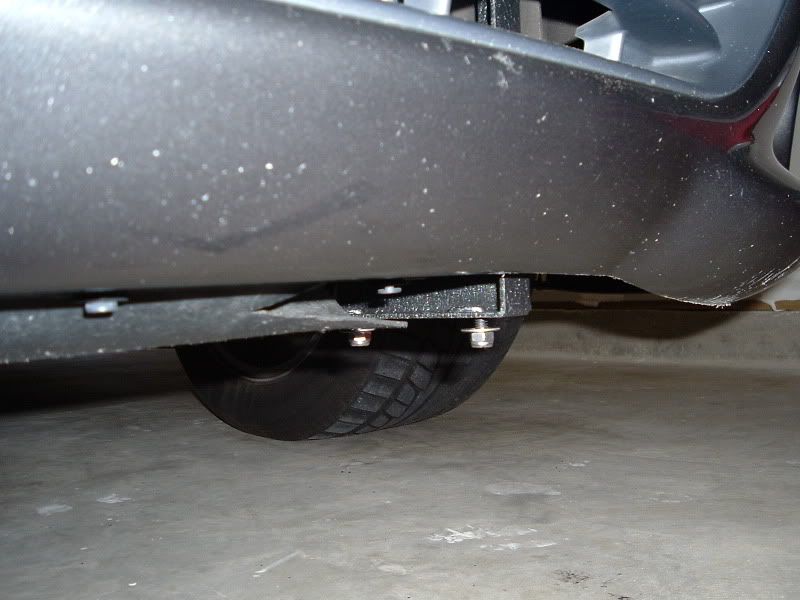  Then I attached the scoop with the supplied nylon threaded nuts and the supplied washers. This took a little pushing and pulling, but it went right on. Once I had the scoop installed, I lined everything up, snugged it up against the bumper as far as I could, and tightened the two bumber bolts and the four bolts that hold the scoop to the brackets. These are pics of it installed... 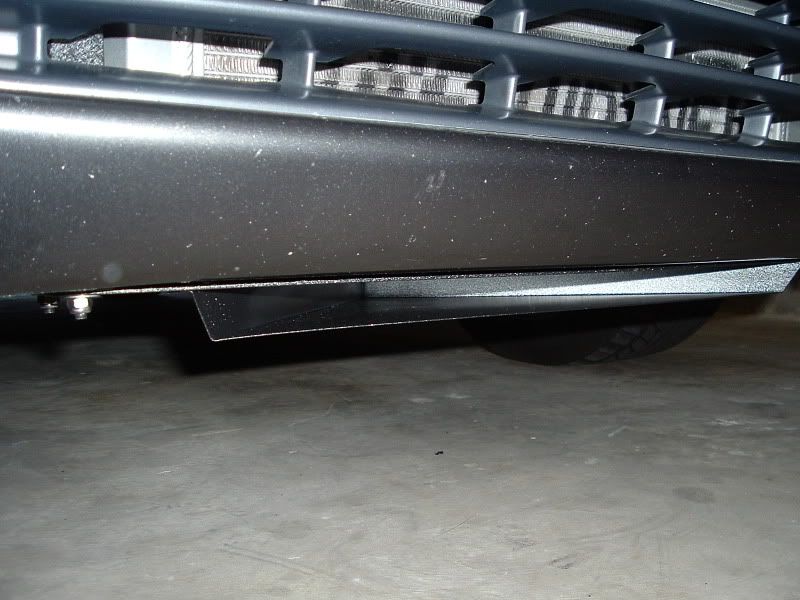 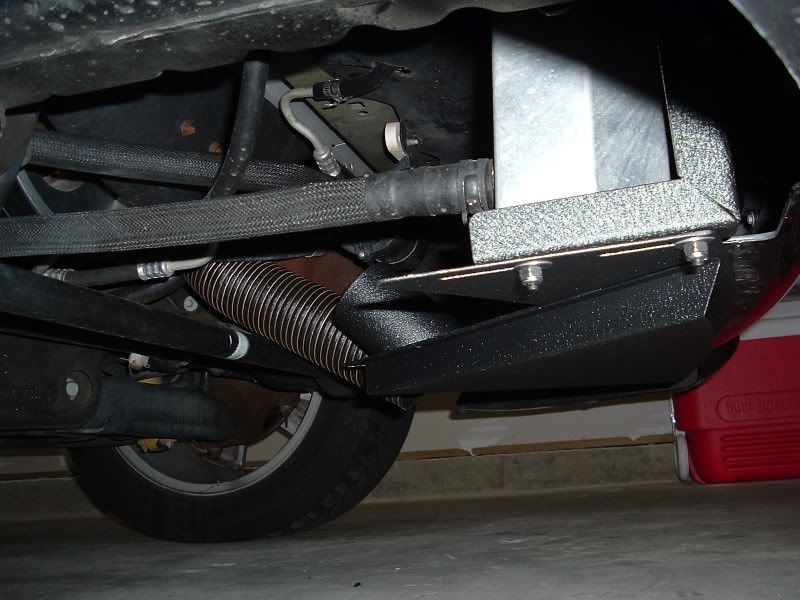 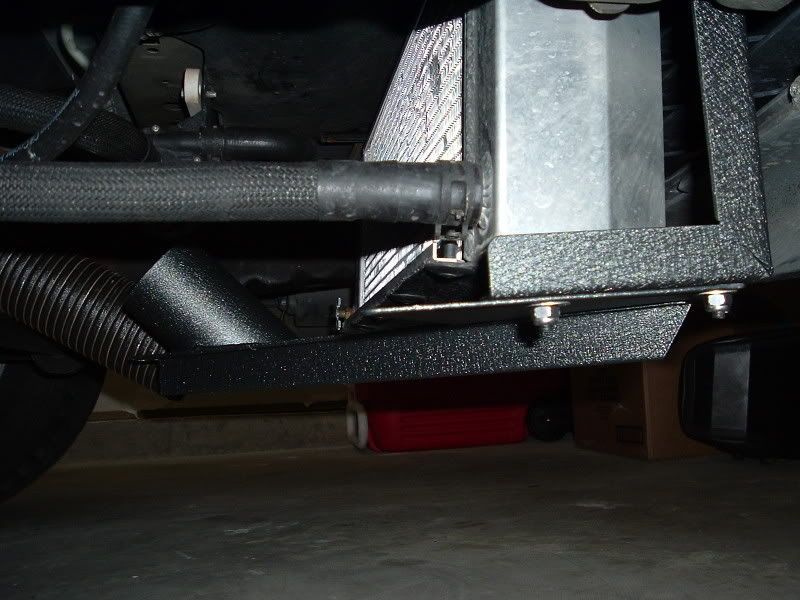 Then I attached the flex-tubing to the scoop with another supplied clamp... 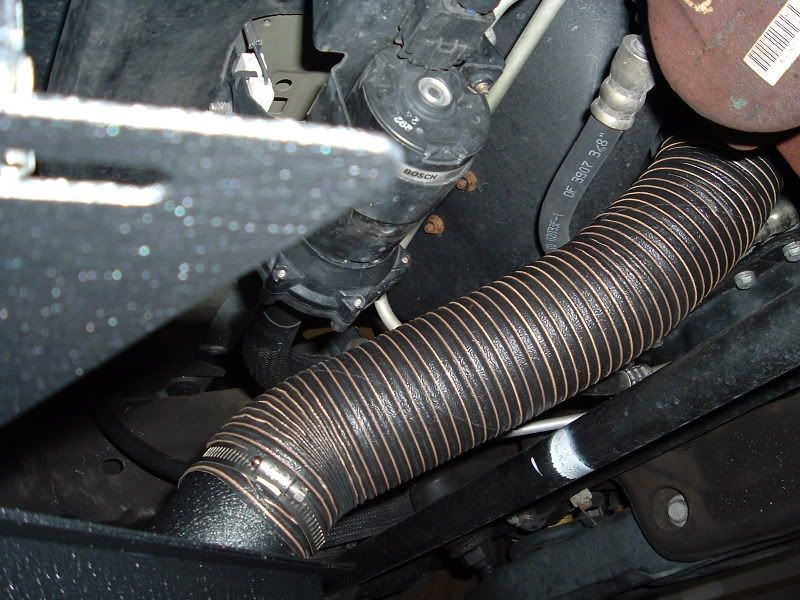 At this time, I attached the other end of the tubing to the filter box and clamped it. Once that was accomplished, I went ahead and adjusted the tubing for clearance and tightened down the bracket nuts and the clamps. I had to fiddle with it a bit to get clearance away from the lower pulley (8# lower). In the instructions it has a picture of the tubing going under the power steering line, but I had to go over it to get clearance. I ended up with about 1 1/2" of clearance from the lower pulley... 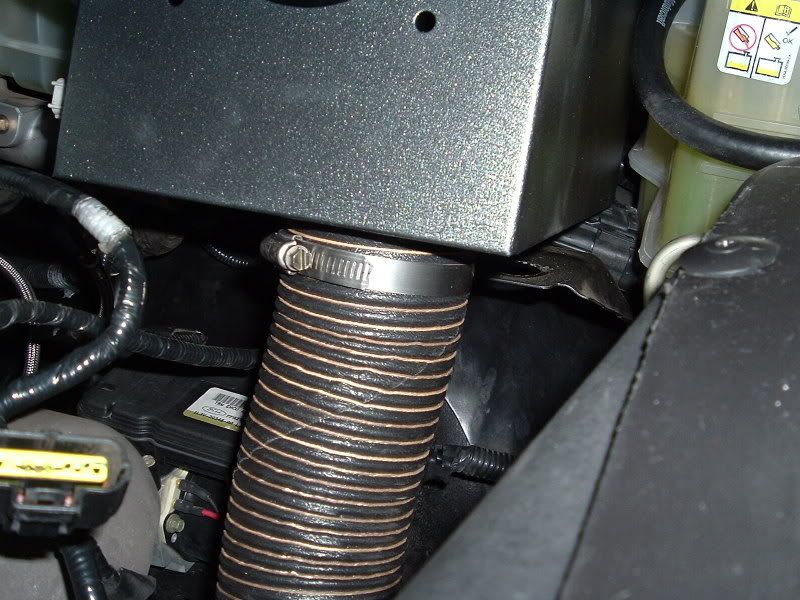 Once that was done I went to work on the filter box. First I installed the MAF using the billet MAF adapter supplied with the kit. I followed the instructions and "sandwiched" the filter box between the MAF and adapter. I used my old MAF gasket on the outside where the MAF contacted the box. The supplied MAF bolts were too short, so I just re-used my old ones. I also installed the IAT sensor in the hole in the bottom corner of the box... 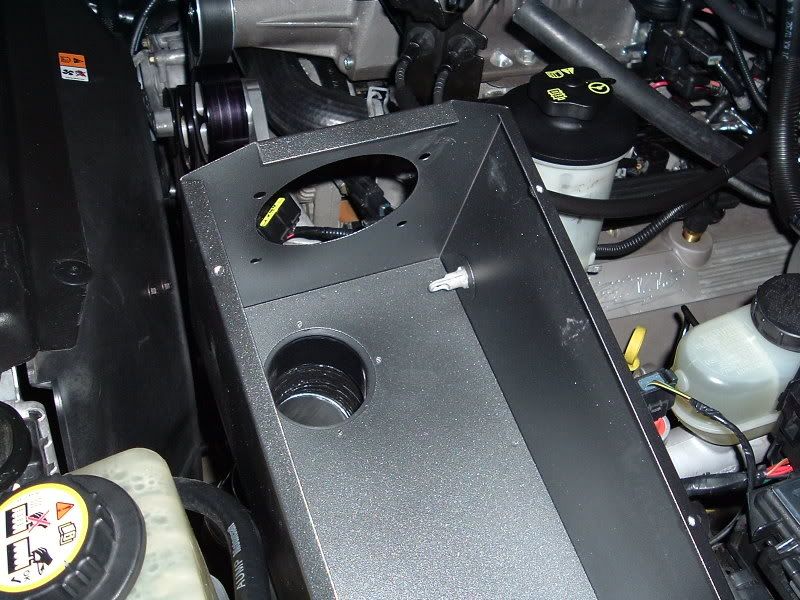 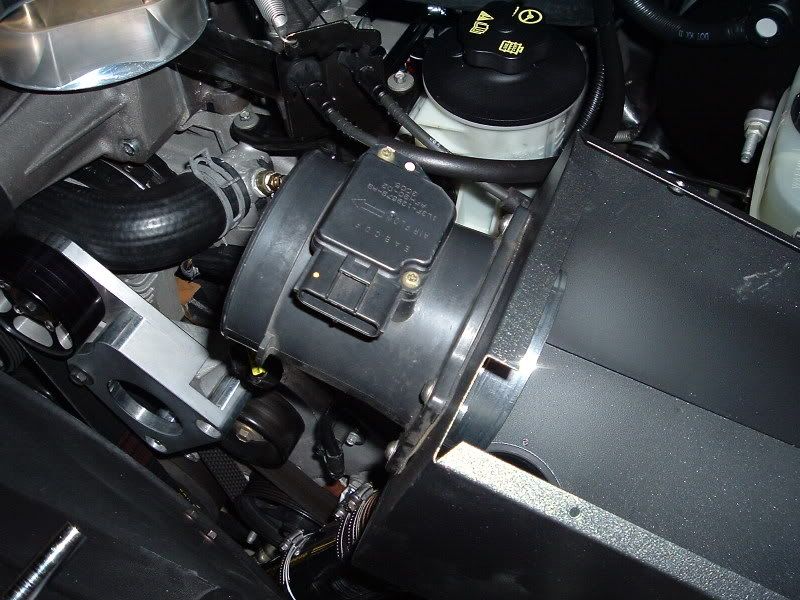 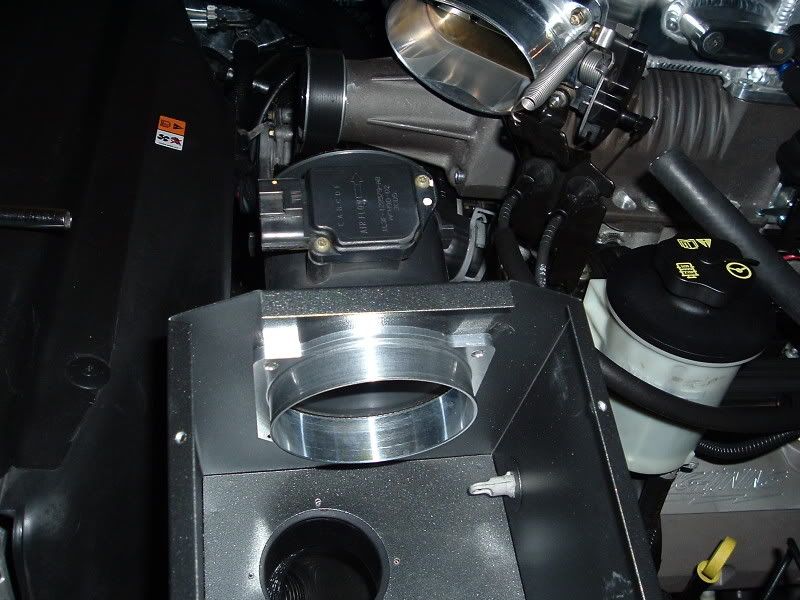 Then I installed the 12" S&B Filter and clamped it on... 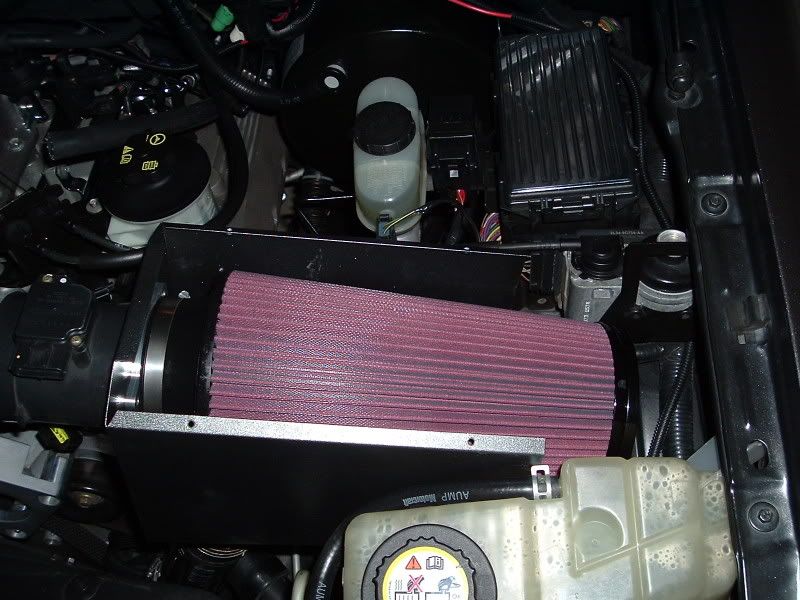 Then I installed the plastic ring and foam ring at the head of the filter to make a tube to the hole in the fender. This filter does have an opening at the end... 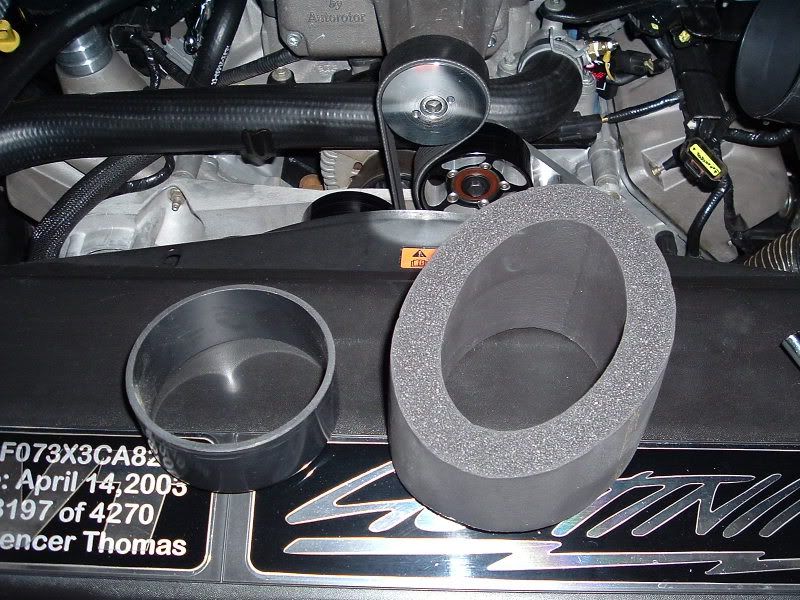 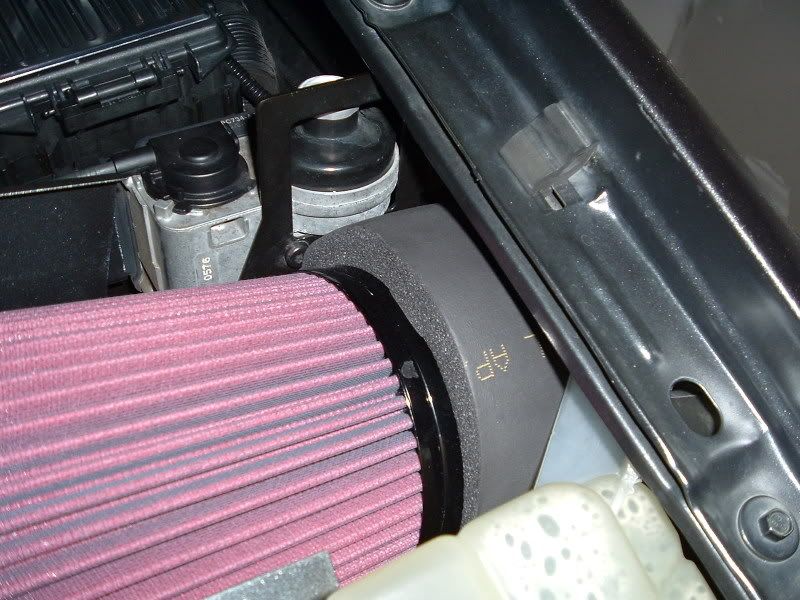 Then I installed the Air Force One Power Tube to complete the set-up. Here's everything installed before I put the cover on. The only thing I really didn't care much for was that the MAF is now located on top. I believe I will have to have my tune tweaked a bit because of the new MAF location...   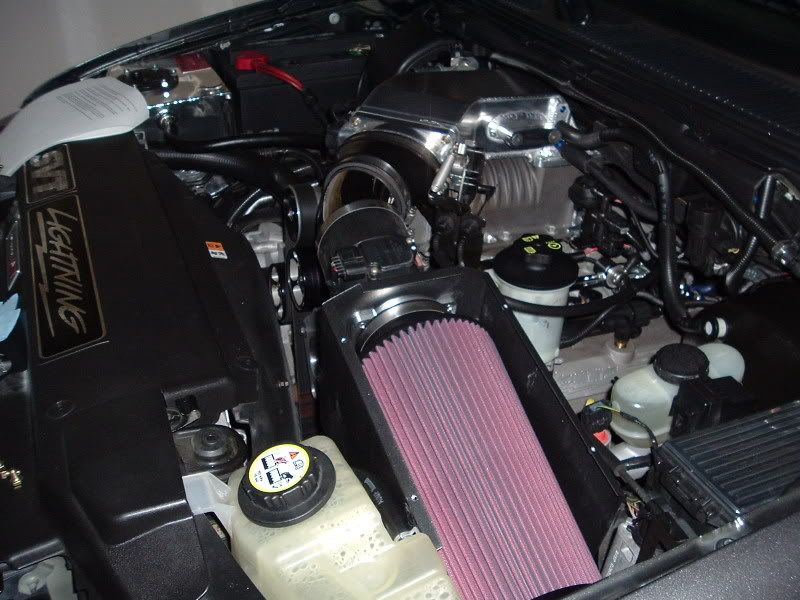 And here's everything installed including the polished cover for the box... 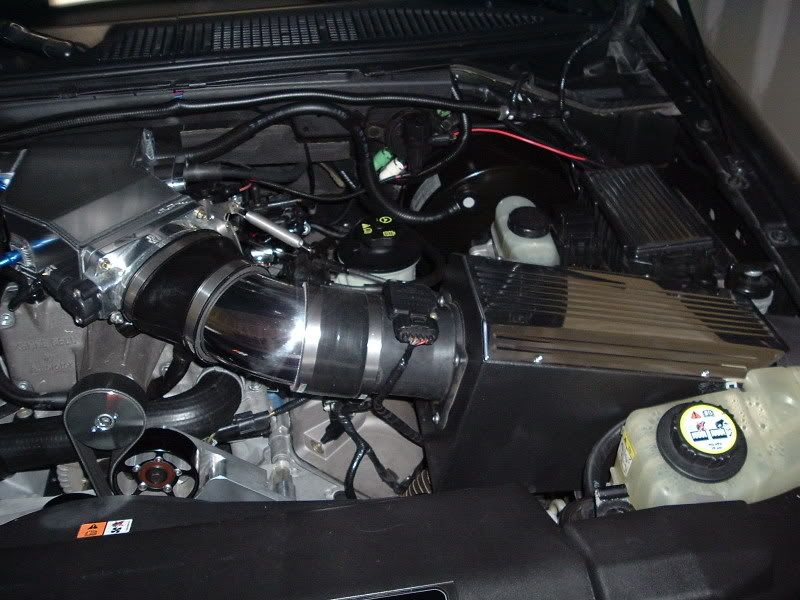 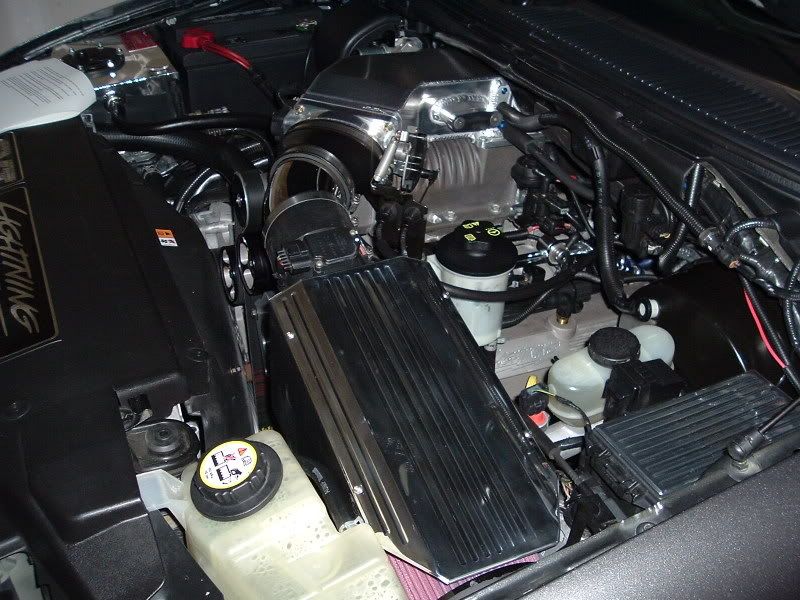 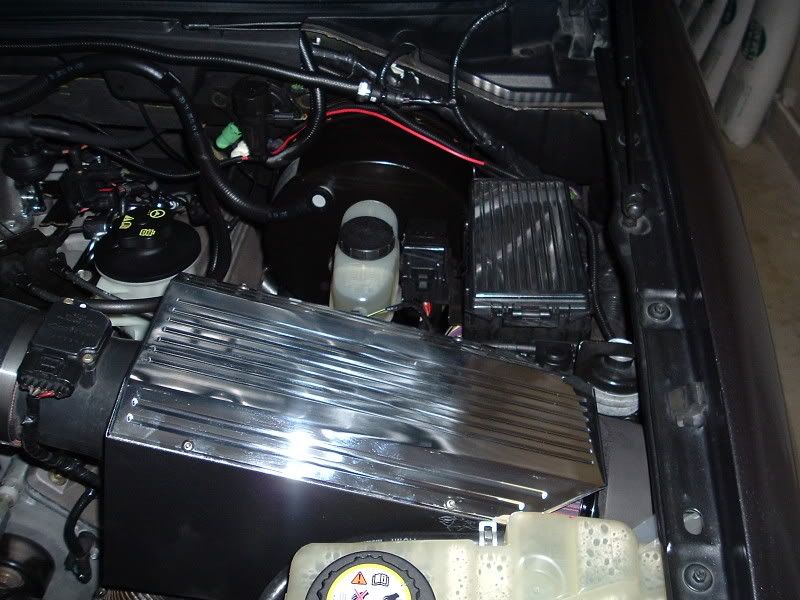 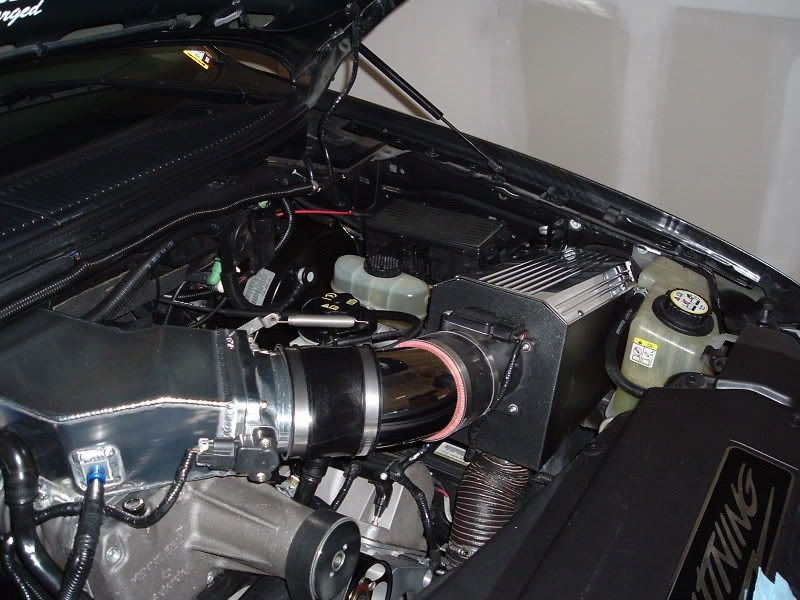 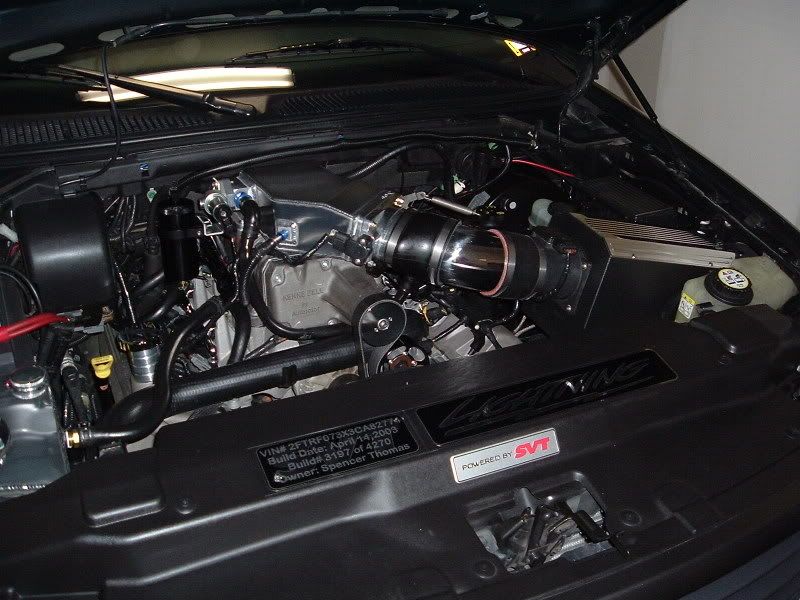 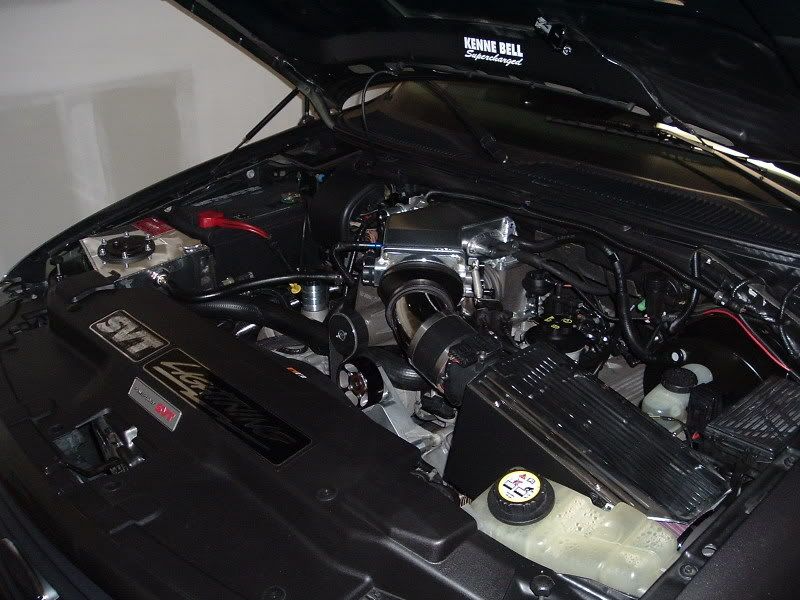 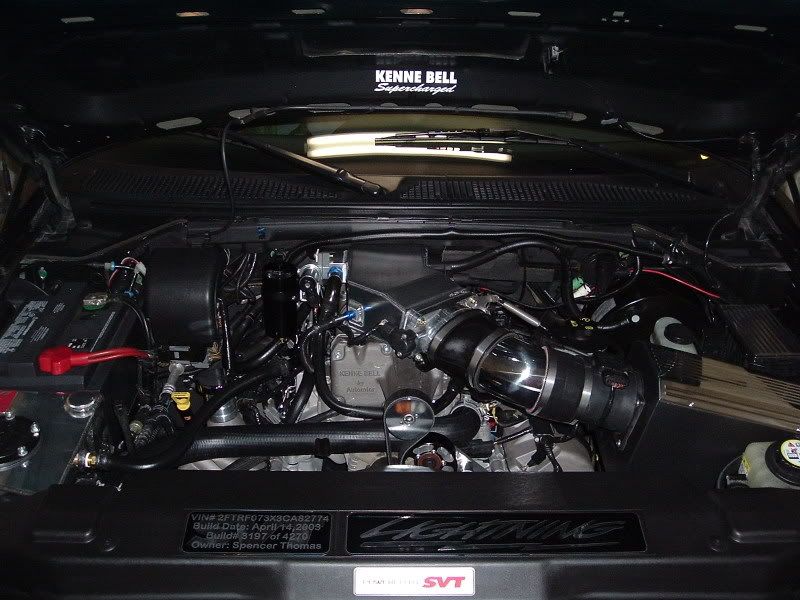 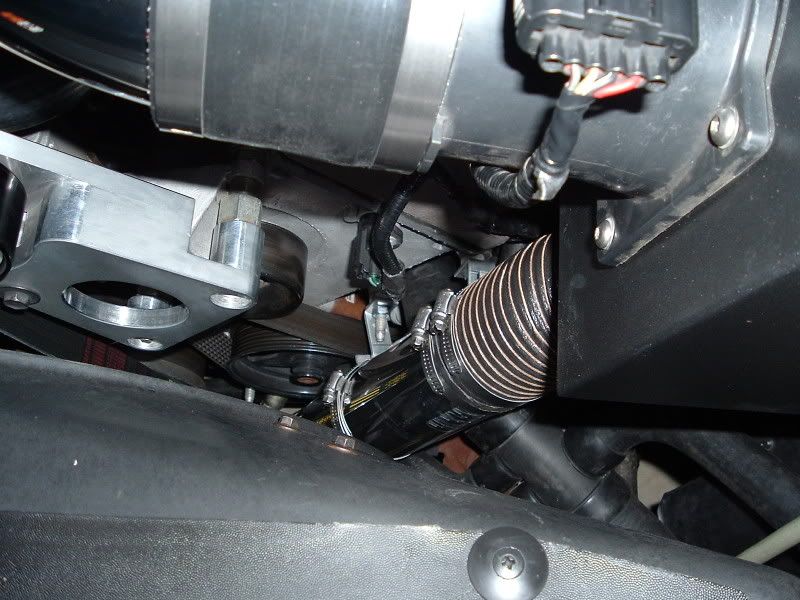 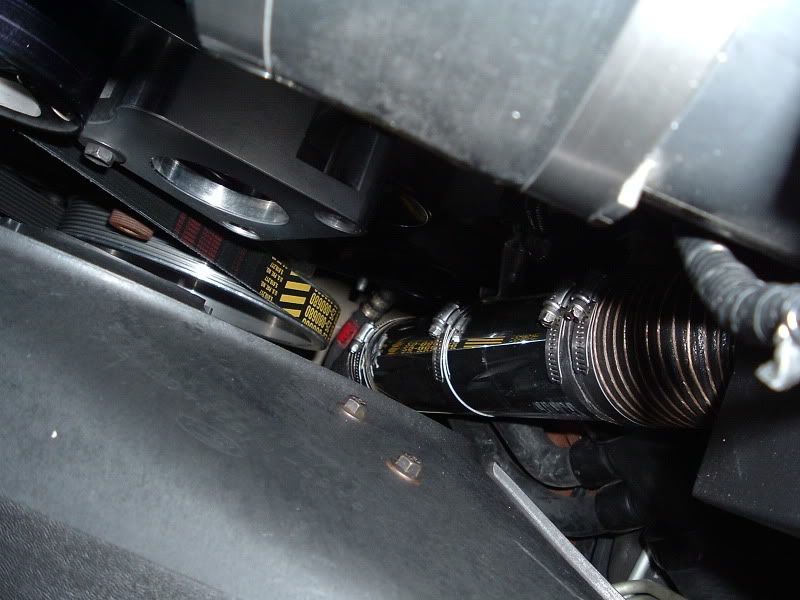 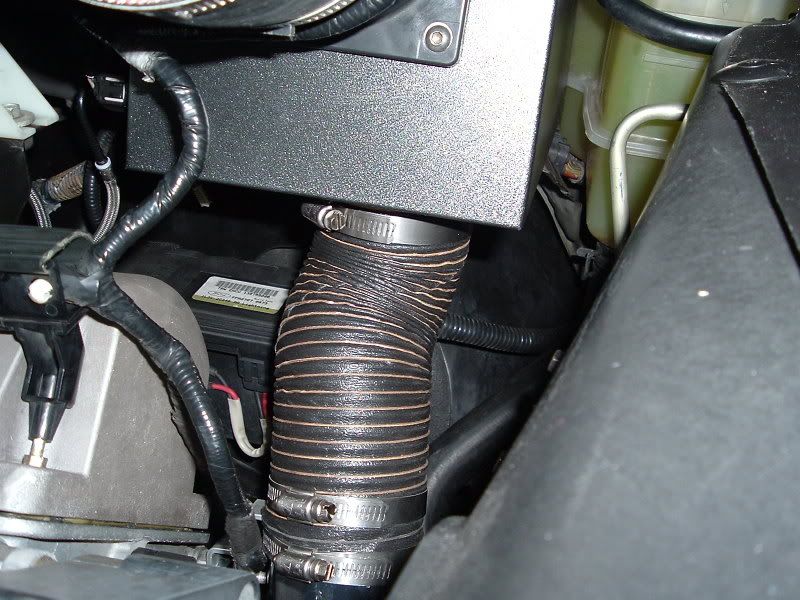 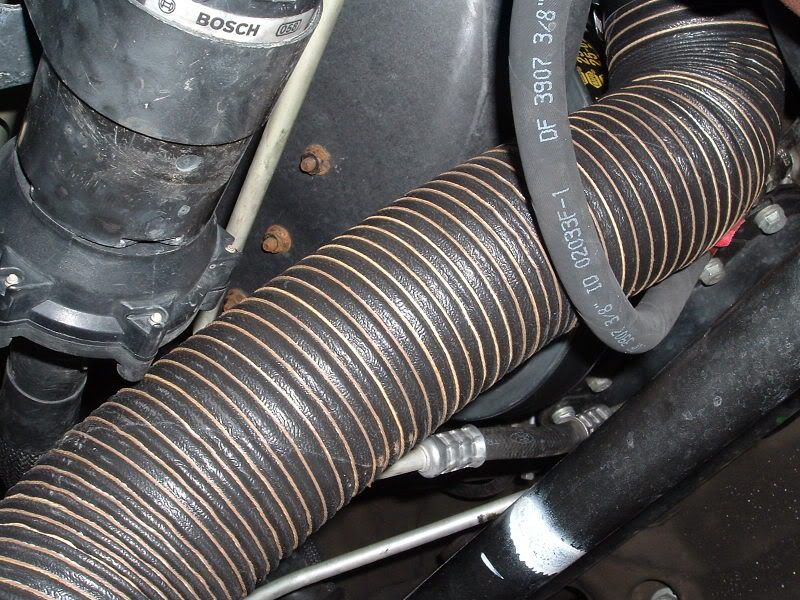 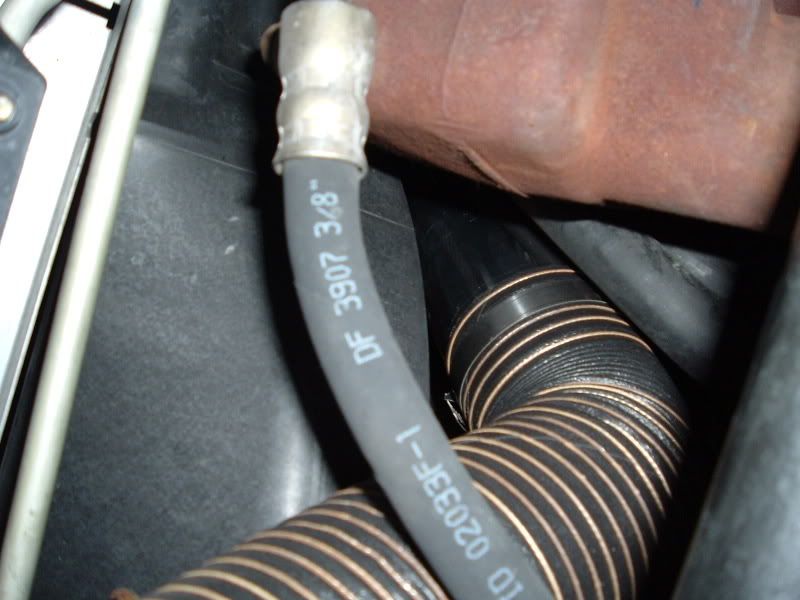 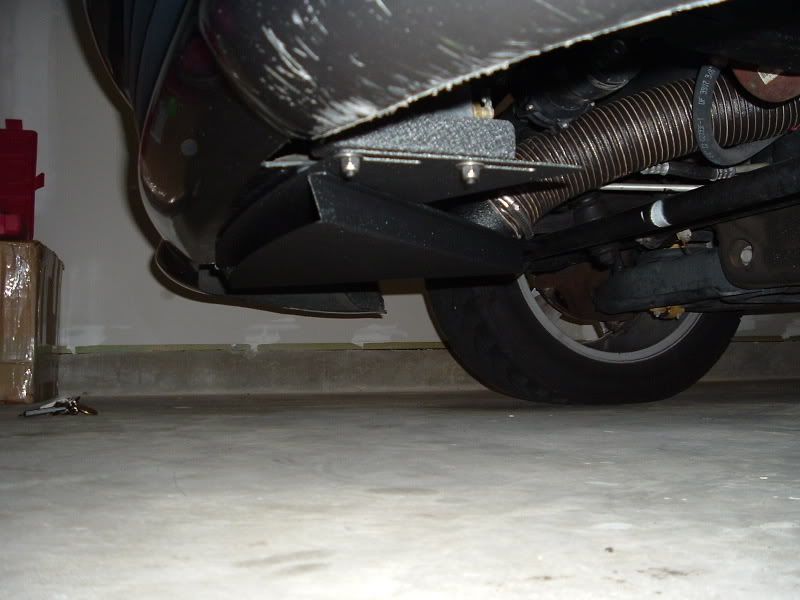 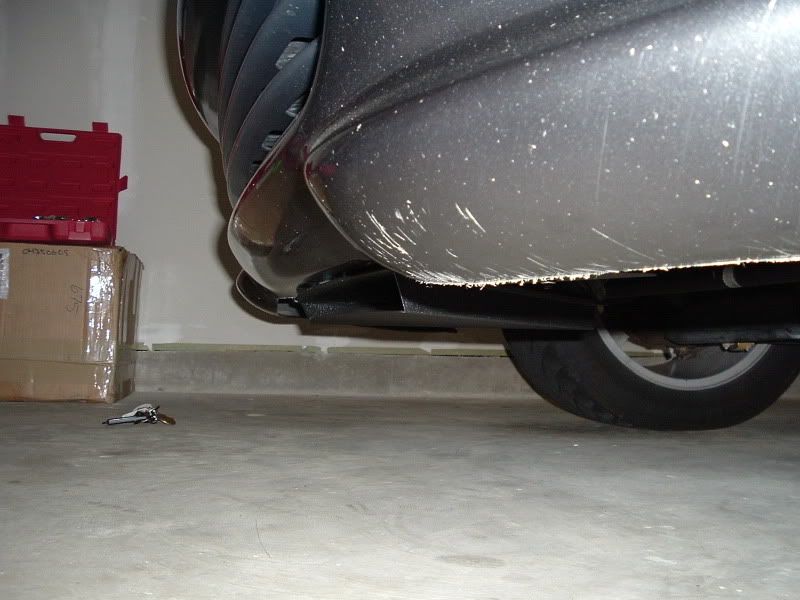 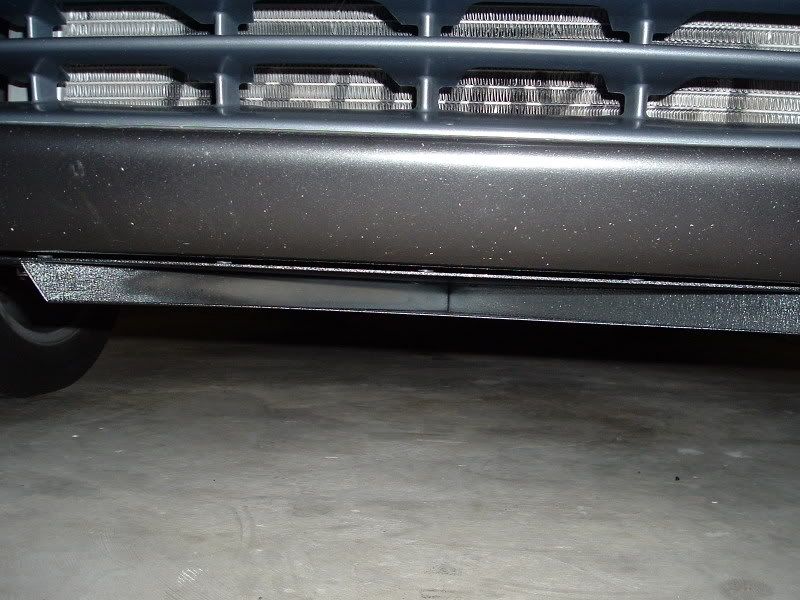 And the aftermath... 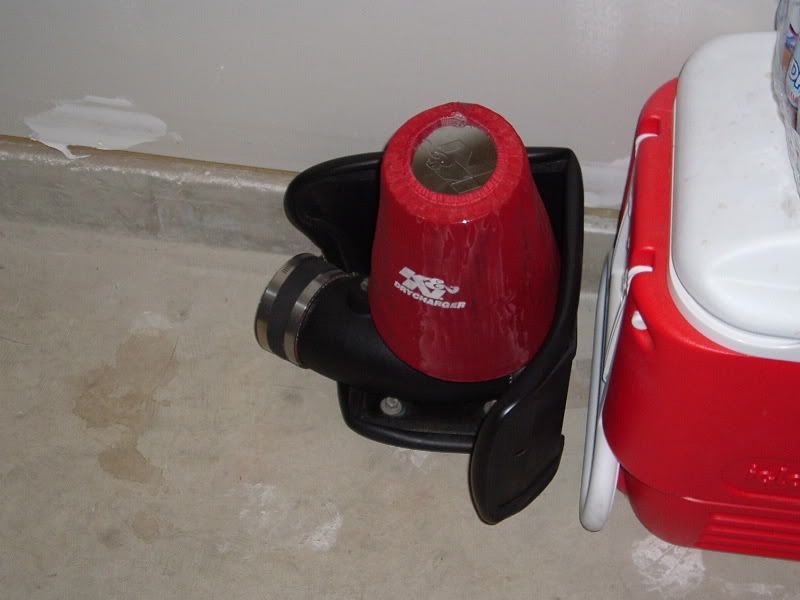 I'm pretty satisfied with this kit. I am more than satisfied with the "Deal of the Day" that Tim @ Chickenears made me. This kit definitely added a lot of flare to the engine bay and I must say that I had to stand there and stare at it for a while... |

|

|
 |
|
|


 Linear Mode

